What is direct instruction and gradual release?
Have you ever taught an ELA lesson that didn’t go as planned? Or that you thought would be totally amazing, but your kids weren’t engaged? Or how about my all time favorite…the one where you deliver a perfect lesson (one you wish you had your former mentor teacher watching) only to have 21 out of your 25 kiddos saying, “I don’t know how to do this!” when you release them to practice on their own. Total nightmare.
First, know that we’ve all been there. Second, something the above examples may have in common is the lack of direct instruction in combination with a gradual release of responsibility from teacher to student.
Direct instruction and a gradual release model combined make up the dream team of structuring ELA lessons! It is like lesson planning GOLD. The stuff your teacher dreams are made of. It is a format for presenting instruction to students following a series of proven steps.
Imagine knowing exactly how to plan and teach EVERY lesson. You follow, (for the most part), the same steps every time you plan and deliver said lesson.
The Framework: i.e. the golden ticket
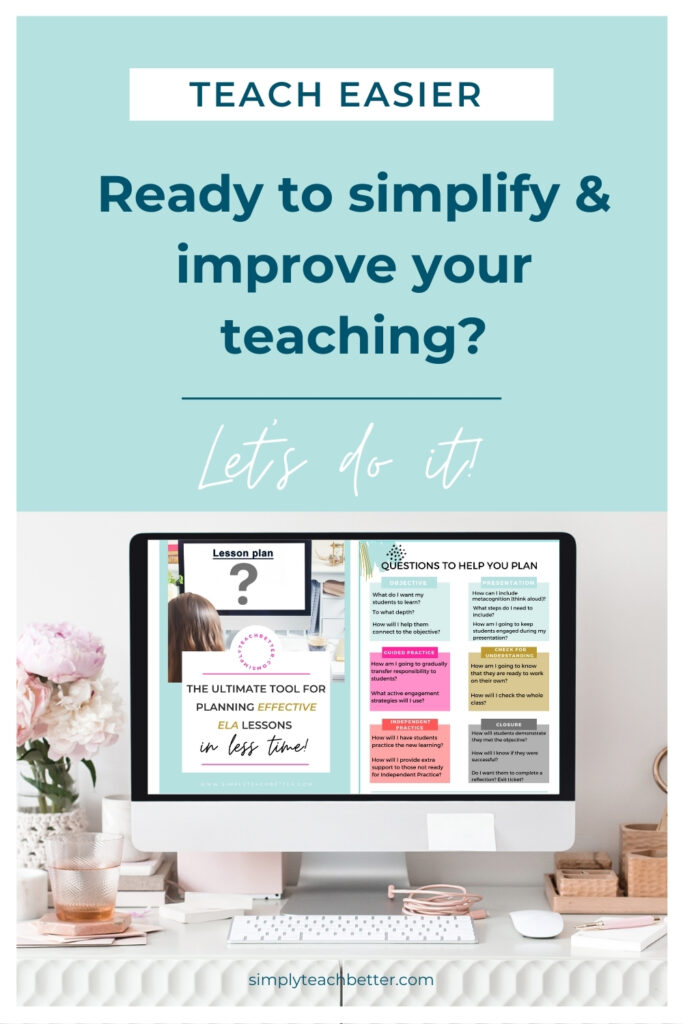
Let’s call it the The Framework. I’ve put together a step-by-step guide for how to use The Framework, with templates, to EASILY plan and teach highly effective lessons. If you haven’t grabbed The Ultimate Tool for Planning & Teaching Effective ELA Lessons, you can download it here for free!
Also, if you are interested in geeking out about ALL the research to back up direct instruction and the gradual release of responsibility model, you can read more about their effectiveness, and philosophy here and here.
But seriously, using the direct instruction and gradual release of responsibility method when you teach ELA (or most anything really) will greatly improve your students’ ability to master ELA standards!
Direct instruction and gradual release model
Okay, here is where we deep-dive into the HOW, as in HOW we are going to use direct instruction and gradual release to plan and teach our lessons. Settle in peeps, we’re going step-by-step into THE FRAMEWORK. Let’s Go!
Teacher Presentation using direct instruction
Teacher presentation is going to be the first phase in your lesson. It will be made up of 2 steps: The objective and your modeling (or presentation) of the new learning.
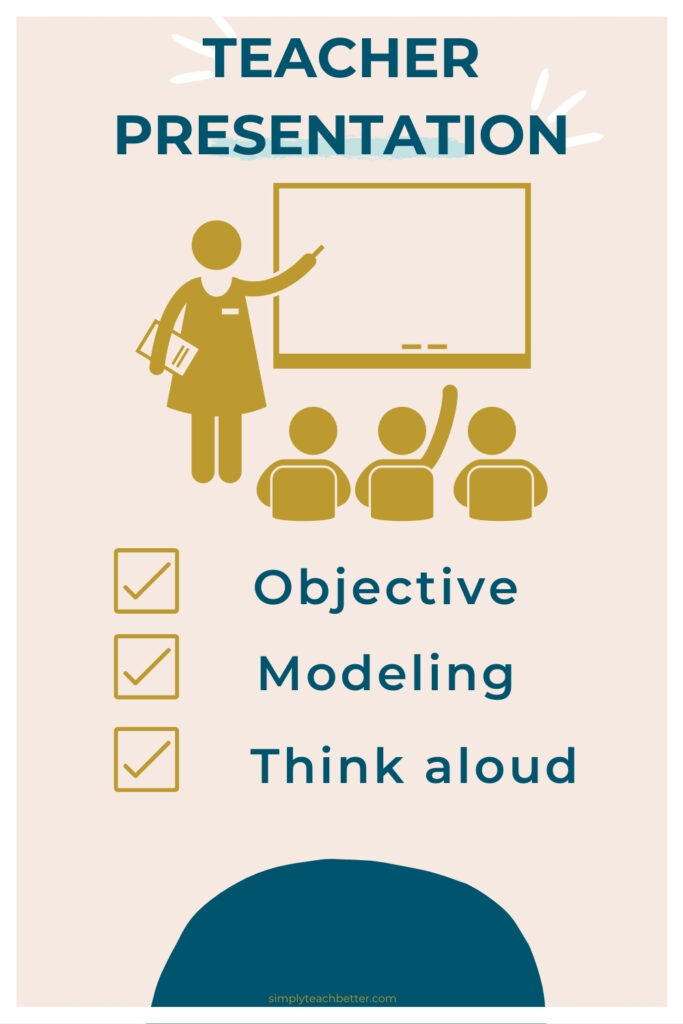
First, you will share the objective in a kid-friendly way. Let’s say you’re teaching “Making Inferences” to 4th graders. Your objective might be, “Today we will make inferences using text clues and what we already know”. When teaching the lesson, you will involve the students in knowing and stating the objective. Research shows that when kids know and articulate what they’re learning, they are able to retain it better. A simple way to do this is to have the kids choral read the objective and then take 30 seconds to talk to their partner about what they think it means.
Teaching the new content or skill
Second, you will “present” the new learning or content. Here is where the direct instruction comes in to play. You will present 2-3 examples in an ENGAGING way. Keep it quick, concise, and don’t go off on any extraneous tangents!
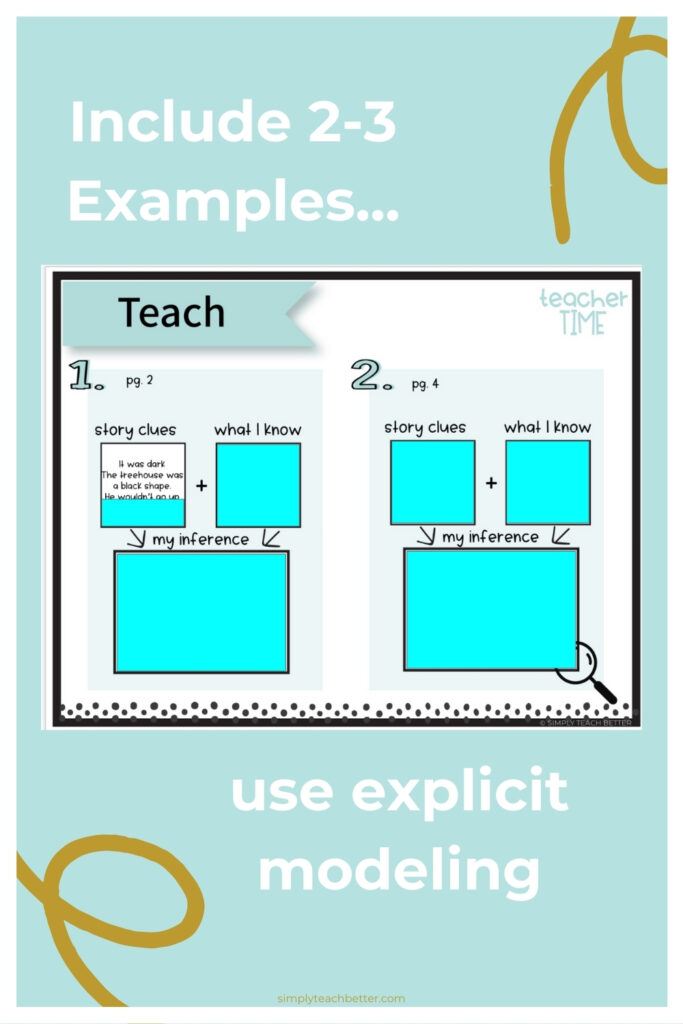
Keeping with our Making Inferences example, your teacher presentation (direct instruction) may look like modeling 3 inferences you could make as you read aloud (carefully and previously) noted text. You would explicitly model each time through thinking aloud how you used story clues + your prior knowledge to form that inference.
Structured Guided Practice
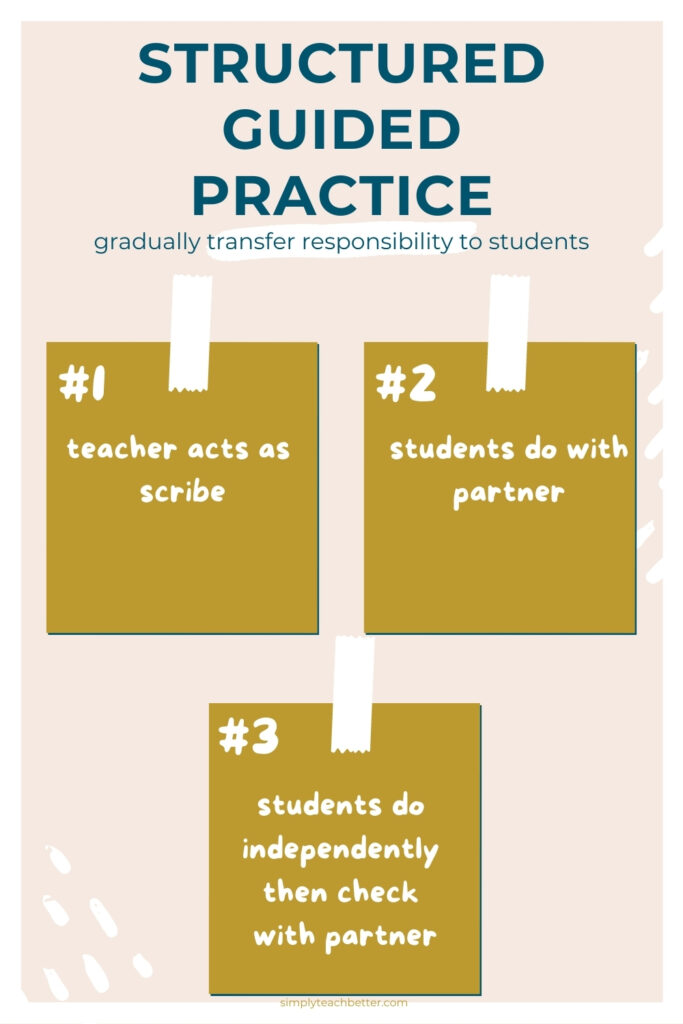
After Teacher Presentation, you would start moving into Structured Guided Practice, where you begin the gradual transfer of responsibility from teacher to student. In this phase of the lesson, practicing the new skill or content is still very much supported by the teacher. As the teacher you are practicing the new learning alongside the students.
Plan 3 examples to complete WITH students. Here is what the gradual release or transfer of responsibility will look like: First example, teacher completes with student input. Second example, students complete with partners. Third example, student completes and then checks with partner.
After each example the teacher provides immediate feedback to address and correct any misconceptions.
Checking for Understanding
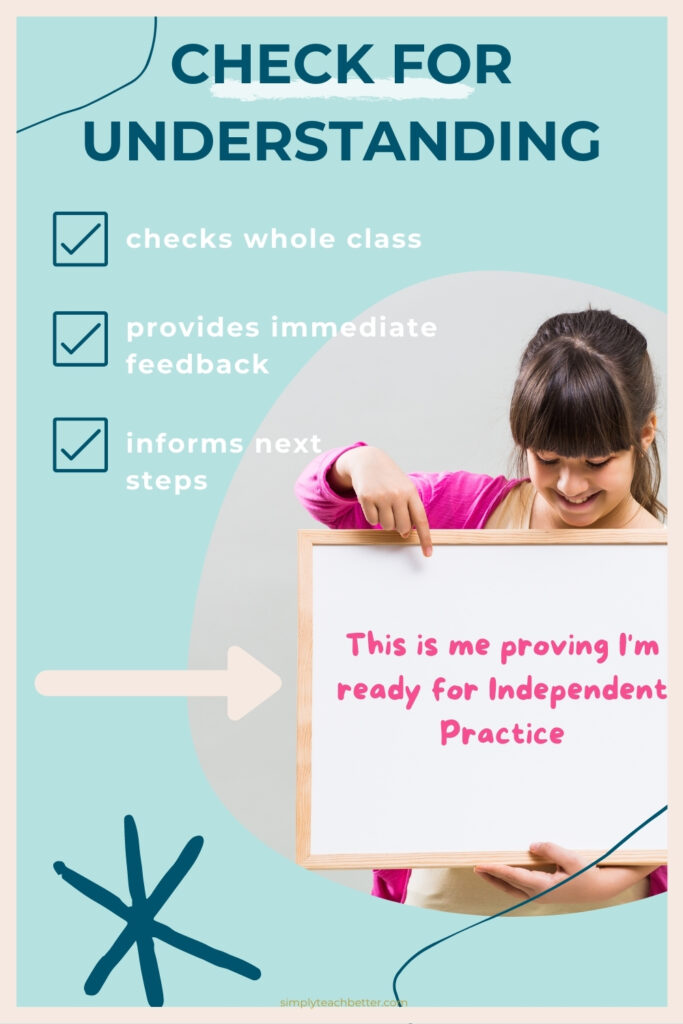
Next up in the lineup is Checking for Understanding. This is arguably *the* most important step and one that is often overlooked unfortunately. This is where you will allow students to prove that they have learned the content BEFORE you allow them to practice on their own.
It is crucial that you check every student and provide corrective feedback before you send them off to practice potentially incorrectly. Practice makes permanent. Perfect practice makes perfect.
I know what you’re thinking, “How am I supposed to check every single student at the same time??!”. Before you panic and give up, let me offer 2 suggestions of what this may look like.
One– use individual student whiteboards. Pose the question or the task and have students write the answer on their whiteboard. Count to 3 and have all students raise their whiteboards. Quickly scan the class and note corrections, misconceptions, and address them whole class. The 2nd way is to have students write their answer on their paper or notebook and you, the teacher, walk the room scanning answers and providing individual feedback quickly.
A Check for Understanding should be quick, informative, and provide immediate feedback. You need to note which students got it, which are almost there, and which students need re-teaching. You will then use your Check for Understanding to differentiate Independent Practice.
Independent Practice
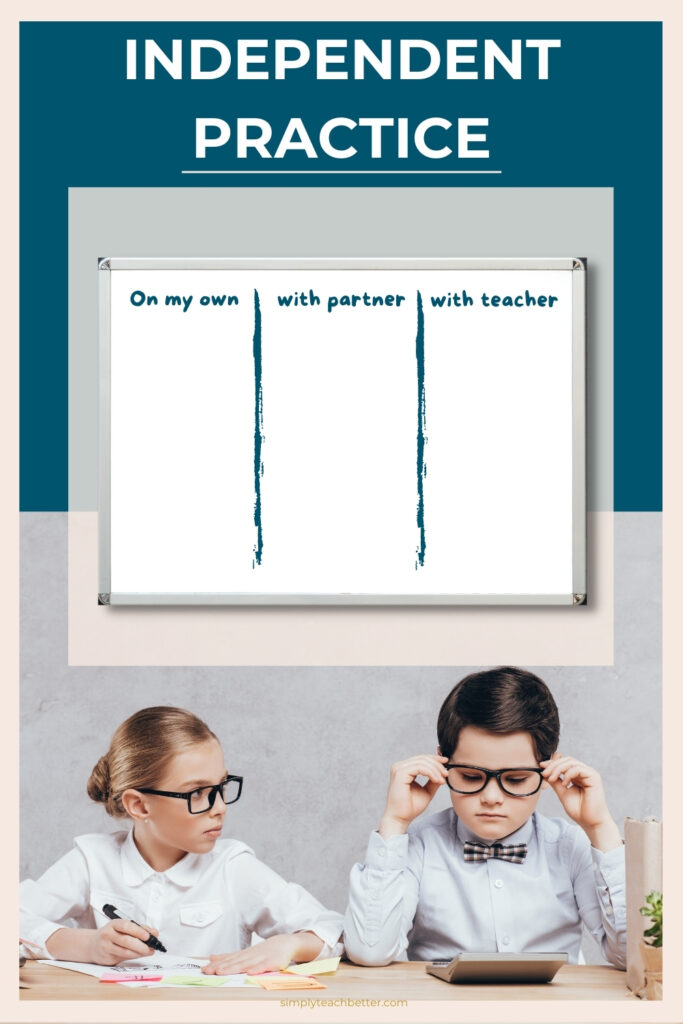
I think most of us are familiar with Independent Practice, but I’d like to offer an expanded definition of what this phase may include. Typically this is the phase where students practice the learning independently with delayed teacher feedback.
Because of delayed feedback, you need to be confident that the students independently practicing are doing so correctly. The last thing we want is to have to undo incorrect learning! Ain’t no one got time for that!
Providing differentiation
Use the Check for Understanding to provide different levels of support your students need to be successful. Based on this check you may have students working on their own, students working with partners, and students working with you in a small group. This is a simple and effective way to provide differentiation without adding more work for you!
Differentiation is often made out to be more difficult than it really needs to be. The whole goal of differentiation is for students to be given what they need to access the content standards and successfully meet them. You do not need to provide different assignments! Simply scaffold the level of support during Independent Practice. Your admin will be impressed with your responsive teaching and ability to differentiate on the spot with formative assessment. Trust me!
Closure
This poor, little, BUT POWERFUL, step is so often left out when we are teaching lessons. We’ve taught the content, we’ve practiced the content, and now we need to rush on to the next lesson…I get it. However, including a form of closure in a lesson has been proven to help kids retain the new learning, which is obviously what we all want. Think of it as pressing save before you close a tab on your computer! You can close the tab without saving, and cross your fingers that when you open the tab again your work will be there, however, more than likely it won’t. I speak from experience- this is the 2nd time I’m writing this blog post. Wah-Wah.
Some ideas for closing a lesson are having students do a quickwrite where they take 2 minutes and write about what they learned. This can also double as a quick assessment to see how well they met the objective. They could also partner teach. Have them teach their partner what they learned or how to do ______. Listen in on these conversations so you know your next steps. Have them do a 3-2-1: 3 things they learned, 2 things they want to know more about, and 1 thing they will work on to improve. The possibilities are endless. Keep it simple, informative, and effective (in terms of retaining the information).
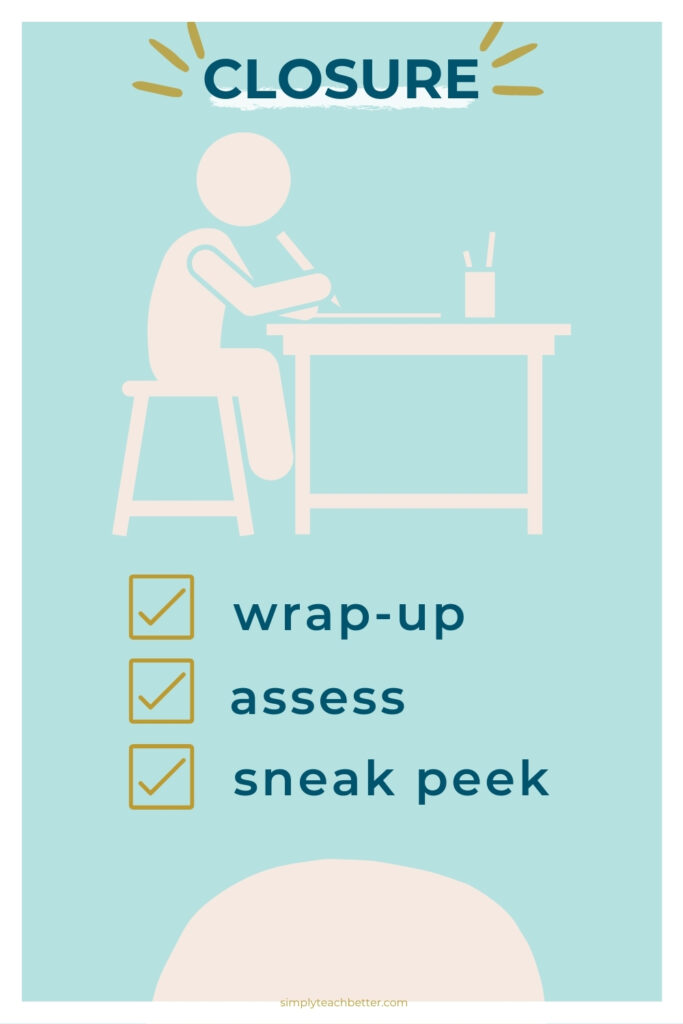
Try including a “Sneak Peek”
Another thing that I like to do in closing a lesson is give a “Sneak Peek” at the next lesson in that unit. Just quite literally a peek at what’s coming up next. No explanation involved. So for example, if I’m closing a lesson on finding the main idea of a paragraph, and my upcoming lesson tomorrow will be finding the main idea of a whole passage, I might show them a picture of a whole passage and the graphic organizer we will use.
Sneak peeks are just that. A quick peek at what’s coming. Nothing fancy. Nothing to be prepped. 10 seconds. The point is to help students connect what they just learned to what’s coming. You are building bridges (I think the fancy term is “Synapses”) between old learning and new learning. This connection is what helps students organize all the content in their brain. Think: File System. Before I go off on a brain/synapse/connection tangent, let’s just agree to agree that connecting learning to other learning in our brains is highly effective for retaining learning. Okay, that’s a little redundant, but you get the point.
Teaching ELA using direct instruction and gradual release
Now that you know the steps involved in using direct instruction and the gradual release of responsibility model, let’s chat about using this framework to structure your ELA lessons.
First, let’s discuss why. I’m assuming you want more than “because I said so!” so here it is: using direct instruction and a gradual release of responsibility is how you teach for mastery. Do you want your students to master ELA standards? Use this framework. There is a ton of research behind it. I’ll give you the overview: when you design and teach lessons in this way, you are providing kids with an engaging and highly supported way of learning and practicing new skills. It is more in depth than “I do, We do, You do” (contrary to what most curriculum authors would have you think).
But, what types of ELA lessons will I use with this framework?
Next, let’s chat about type of ELA lessons you will design using this framework. This framework works for teaching comprehension, vocabulary, phonics, word study,…just about every ELA lesson you need to teach. Do you have to go through the full framework every time you deliver instruction? No, of course not.
You might begin on Monday teaching Main Idea and go through Teacher Presentation and Structured Guided Practice and do a quick Closure. Then on Tuesday, you might do a mini Teacher Presentation and Structured Guided Practice then a Check for Understanding and Independent Practice, etc. Really, the framework can be spread across the whole week or you can move through all the phases during the same timeframe. If you want to see how to spread the framework out over the course of a week long comprehension strategy instruction, you can check out this bundle here.
Using this framework and executing it well, gives your students the best possible chance to meet/exceed ELA content standards.
ELA lesson plans that work- Wrapping it up!
Whew! You made it! You’ve demonstrated commitment to learning how to use direct instruction and the gradual release model to simplify your teaching and help your readers meet standards! Remember, we want to teach for mastery!
In The Ultimate Tool for Planning and Teaching Effective ELA Lessons, I outline the steps you need to take to implement this framework successfully and easily. I give you the exact prompts and questions you need to think through to plan and teach lessons using this format. It will cut your lesson planning time down by more than half!
In addition, The Ultimate Tool for Planning and Teaching Effective ELA Lessons has a sample fully-planned reading comprehension lesson for you to use! Use this lesson with your own class to see how easy it is to teach when you’ve planned using this framework. There is also a blank lesson template for you to use as often as you’d like!
Let’s automate your planning!
So, if you are ready to take the next step to simplify and improve the way you teach ELA, download The Ultimate Tool for Planning and Teaching Effective ELA Lessons for free right now!
As always, know better, TEACH better!